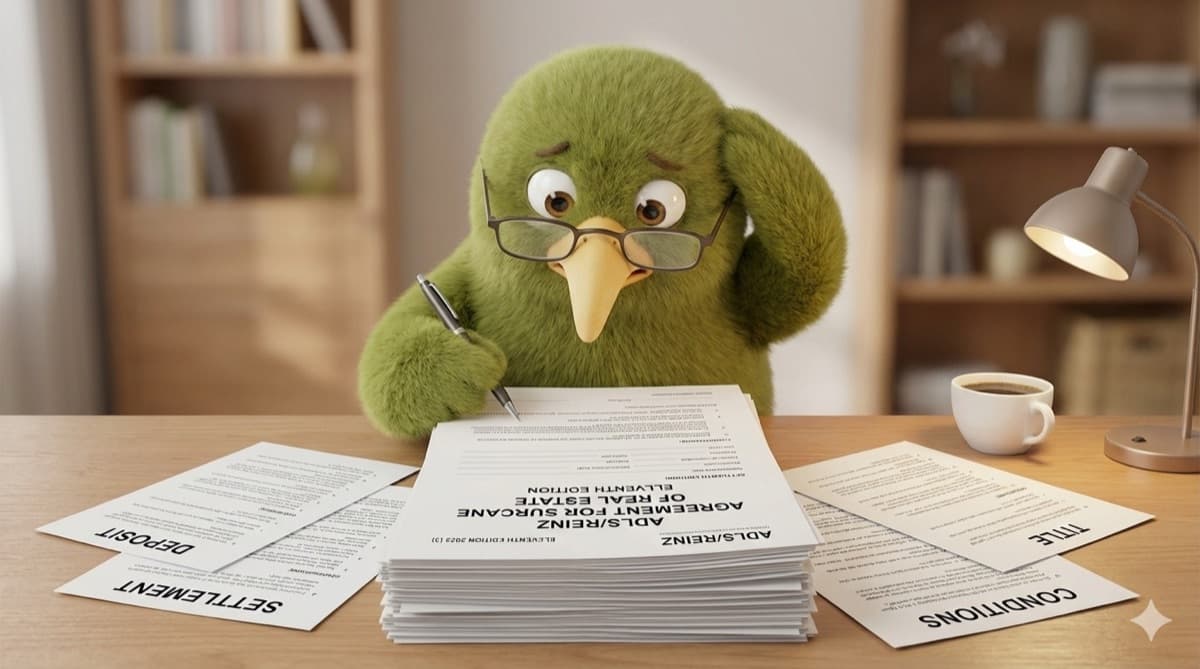
Settlement & Beyond
What happens between your offer being accepted and getting the keys to your new home. A step-by-step guide to the settlement process.
Key Points About Settlement
- Settlement day is when ownership officially transfers from the vendor to you
- Your solicitor and bank handle the fund transfers on the day
- Arrange house insurance to start from settlement day (your bank requires this)
- Do a final inspection of the property before settlement
- Give notice on your rental only after you have gone unconditional
- Start your KiwiSaver withdrawal process early as it takes 10 to 15 working days
Settlement Timeline
Here is what typically happens between your offer being accepted and getting the keys to your new home.
Offer Accepted (Day 1)
You have a binding agreement with conditions. Provide a copy of the signed Sale and Purchase Agreement to your solicitor and your mortgage adviser or bank immediately.
Due Diligence Period (Days 1 to 15)
Your solicitor arranges a LIM report and title search. You arrange a building inspection. Your bank arranges a registered valuation if required. Check that you can get house insurance on the property.
Go Unconditional (Around Day 15)
Once all conditions are met (finance confirmed, reports satisfactory), your solicitor confirms you are going unconditional. Your deposit is now payable, and you are legally committed to the purchase.
Pre-Settlement Period (Days 15 to 40)
Sign your mortgage documents with your solicitor. Arrange house and contents insurance. Start your KiwiSaver withdrawal if applicable. Give notice on your rental. Organise your move.
Settlement Day (Around Day 40)
Your bank transfers the mortgage funds to your solicitor's trust account. Your solicitor transfers the full purchase price to the vendor's solicitor. Once funds are confirmed, the keys are released to you. You are officially a homeowner.
What Your Solicitor Does Before Settlement
Your solicitor handles all the legal work in the lead-up to settlement day. Here is what they will be doing behind the scenes.
Review Mortgage Documents
Check the loan agreement from your bank and explain the terms to you
Arrange KiwiSaver Withdrawal
Coordinate the timing of your first home withdrawal
Conduct Title Searches
Final check that the title is clear of unexpected encumbrances
Calculate Rates Adjustments
Work out who owes what for rates paid in advance or in arrears
Prepare Settlement Statement
Final accounting of all money coming in and going out
Transfer Funds on the Day
Manage the electronic transfer of the purchase price
Your Pre-Settlement Checklist
Use this checklist to stay organised in the weeks leading up to settlement day.
Legal and Financial
- ☐Sign mortgage documents with your solicitor
- ☐Arrange house insurance (active from settlement day)
- ☐Arrange contents insurance
- ☐Start KiwiSaver first home withdrawal
- ☐Confirm settlement date with your solicitor
Practical
- ☐Give notice on your rental
- ☐Book a moving company or arrange help
- ☐Set up power, internet, and gas at the new address
- ☐Redirect your mail through NZ Post
- ☐Do a final inspection of the property
The Final Inspection
You are entitled to a final walk-through of the property before settlement, usually the day before or the morning of settlement day. This is not a full building inspection but a chance to confirm everything is as agreed.
Check the condition
Is the property in the same condition as when you signed the agreement? Has any damage occurred?
Confirm chattels are present
Are all included items still there (curtains, light fittings, heat pump, dishwasher, etc.)?
Check agreed repairs
If the vendor agreed to fix anything, has the work been completed satisfactorily?
Test utilities
Run taps, check lights, test the hot water cylinder, and flush toilets
Important: If you find issues during the final inspection, contact your solicitor immediately, before settlement proceeds. Do not wait until after settlement to raise concerns.
Settlement Day
This is the day you officially become a homeowner. Here is what happens.
Morning: Final Checks
Your solicitor does a final title search to confirm no last-minute changes to the title.
Funds Transfer
Your bank releases the mortgage funds to your solicitor, who transfers the full purchase price to the vendor's solicitor.
Confirmation and Keys
Once the vendor's solicitor confirms receipt of funds, the keys are released to you (usually collected from the real estate agent's office).
Title Transfer
Your solicitor registers the transfer of ownership and the mortgage with Land Information New Zealand (LINZ). You are now officially the owner.
After Settlement: Your First Weeks
Congratulations, you are a homeowner! Here are some practical things to take care of in your first few weeks.
Change the Locks
You do not know how many copies of the keys exist. Changing the locks gives you peace of mind.
Meet Your Neighbours
Introduce yourself. Good neighbours make a huge difference to your experience in a new home.
Locate Key Systems
Find the main water shutoff, electrical panel, and hot water cylinder. Know how to turn them off in an emergency.
Update Your Address
Update your address with your bank, employer, IRD, doctor, and any subscriptions or services.
Set Up a Maintenance Fund
Start putting aside money for home maintenance. A common guideline is 1% of the property value per year.
Review Your Budget
Your expenses have changed. Review your budget to account for mortgage payments, rates, insurance, and maintenance.
Related Articles


Frequently Asked Questions About Settlement
Frequently Asked Questions
Ready to Move In?
Settlement is done and the keys are yours. Check out our comprehensive guide to moving in, including tips from professional movers and a first-week checklist.
Moving In Guide →Need Help Through the Settlement Process?
A mortgage adviser can guide you through every step from offer to keys in hand.